

https://{account}.ilucca.net with the address you use to log in to Lucca. See URL & Environments.
The assistant acts on your behalf: it can only see and do what your Lucca account can, within the permissions you grant it.
Before You Start
You can only connect to your own account’s MCP server ({account}.ilucca.net), and only if your role has the
Connect an AI agent to the lucca MCP permission. If it does not, ask your Lucca administrator.
For administrators: grant the permission
For administrators: grant the permission
- Click your avatar.
- Under Administration, click Settings, then Roles.
- Open the role of the users who need access, then turn on Connect an AI agent to the lucca MCP.


Supported Clients: Paste the URL
These clients register themselves with Lucca. Add the URL, and on first use your client opens a browser: log in, choose what the assistant may access, then click Allow.Claude Code
Claude Code
/mcp, select lucca and choose Authenticate.Claude (web, desktop, mobile)
Claude (web, desktop, mobile)
Go to Settings > Connectors > Add custom connector, paste the URL, then click Connect.
Codex
Codex
ChatGPT
ChatGPT
Go to Plugins > + > Add custom MCP server, then paste the URL.On a Business, Enterprise or Edu workspace, your ChatGPT admin may need to allow custom MCP servers.
VS Code, GitHub Copilot
VS Code, GitHub Copilot
Open the command palette, run MCP: Add Server, choose HTTP, then paste the URL.
Zed
Zed
Go to Settings > AI > MCP Servers > Add Remote Server, then paste the URL.
Goose
Goose
Run
goose configure, choose Add Extension > Remote Extension (Streamable HTTP), then paste the URL.Hermes Agent
Hermes Agent
In Then run
config.yaml:hermes mcp login lucca.Grok
Grok
Go to grok.com/connectors > New Connector > Custom, then paste the URL.


Lucca consent screen (simplified)
Other Clients: Register the Client in Lucca
Other clients, such as Cursor or Gemini CLI, need a client ID and secret. Create a personal client in Lucca, then give both to your tool.1
Open your account
Click your avatar, then My account.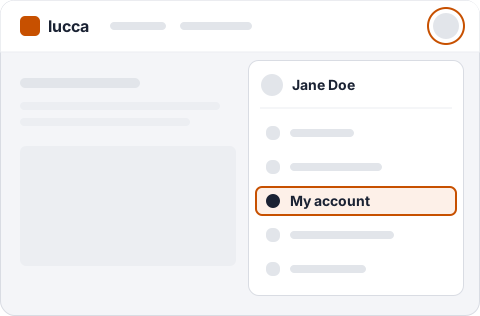
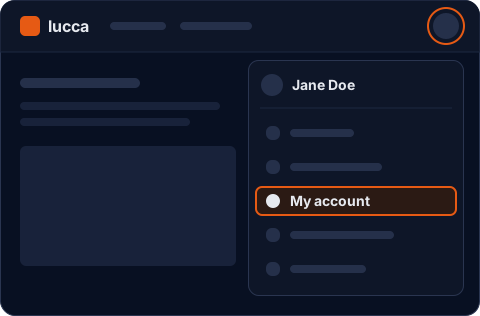
2
Manage connected AI
Under Connected AI, click Manage.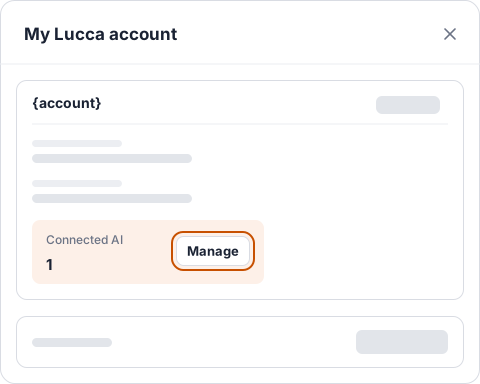
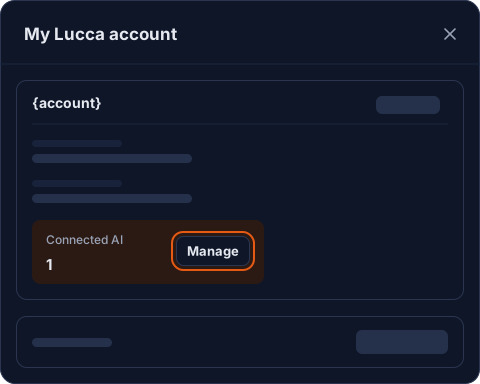
3
Add an AI agent
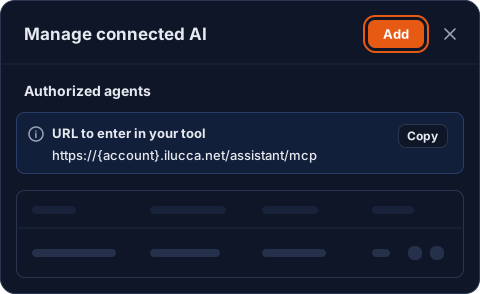
Click Add. This panel also shows the MCP URL to copy.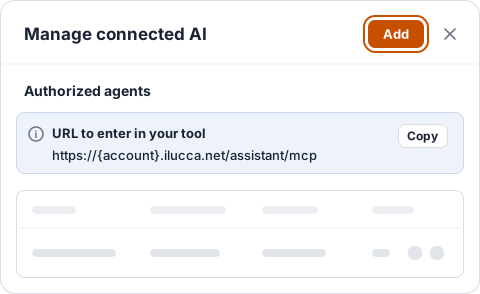
4
Describe the agent
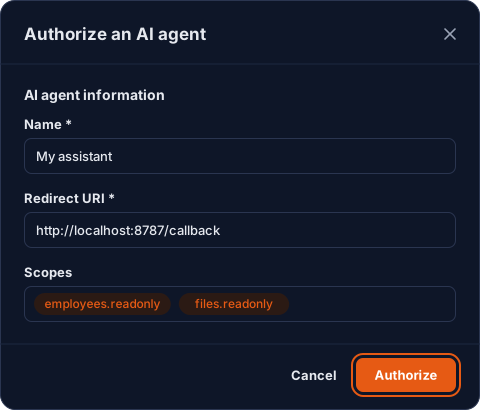
Fill in Name, Redirect URI (given by your tool, see below) and Scopes, then click Authorize.
To pick a scope, type its name to filter the list, then press Enter.The redirect URI must use 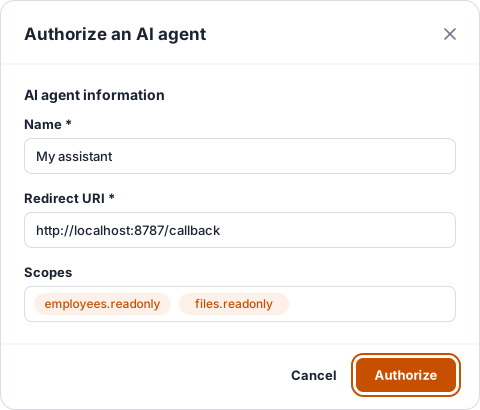
https, or http on localhost.5
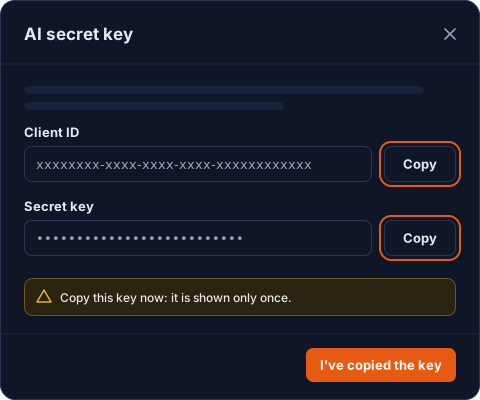
Copy the credentials
Copy the Client ID and Secret key into your tool.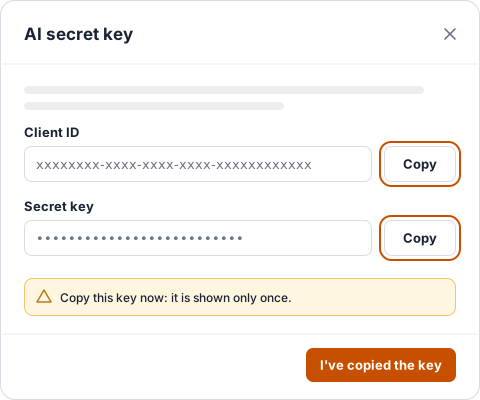
Client Configuration
Inscopes, list the scopes you selected in Lucca. The examples below only request employees.readonly.
- Cursor
- Gemini CLI
Redirect URI:
http://localhost:8787/callbackmcp.json
Which Scopes to Pick
A tool is available only when the client holds all the scopes it needs. Pick read-only scopes unless you want the assistant to make changes.
See MCP Tools for every tool, the scopes it needs, and the tools on their way. See also OAuth scopes.